This guide is for anyone searching for image to 3d who wants to turn a pet photo into a printable figurine. It covers choosing useful reference photos, checking the model, repairing the mesh, and preparing a file for the printer.
The hard part is not getting a recognizable pet on screen; it is making a figure that survives slicing and stands on a shelf. I start with a photo that shows the paws and tail, check the model from every side, then prepare it for the printer I plan to use.
The short version
- Choose a sharp, softly lit photo at your pet’s eye level, with the whole body visible. Add other angles if you have them.
- Use SupaVoxel’s image to 3D generator to make an untextured model first, then rotate it to check the ears, muzzle, paws and tail.
- Before slicing, repair the mesh to a watertight solid and choose an export that fits your printer: STL for resin or single-color printing, or 3MF for supported multi-color printing. Those print-prep features are included in every paid plan from $25 a year.
- Aim for a shelf figure around 60–100 mm tall. If the finished model must be under about 40 mm, resin is a better choice for facial detail than PLA through a 0.4 mm nozzle.
Choose the photo for shape, not just personality
My favorite picture of a pet is not necessarily the best modeling reference. A curled-up sleeping pose may hide the legs; a close portrait may cut off the tail. The model has to build a whole animal, including surfaces the camera never saw. Give it visible structure to work from.
I look for a clear three-quarter view taken near the animal’s eye level. That angle shows the face and a flank together, making the chest, muzzle and body depth easier to judge. Soft light helps reveal form without harsh shadows. Keep the paws, ears and full tail in the frame, and crop away as much distracting background as you can.
If I have other photos of the same pet, I choose views that answer specific questions the main photo cannot: What shape is the tail from behind? Do the ears stand out to the sides? Where does the coat pattern continue around the body? The generator accepts a main image and up to 4 extra angles. They are most useful when they show missing surfaces, not when they repeat nearly the same view.
Fur needs realistic expectations. A printable mesh represents the coat as a sculpted surface, not separate hairs. Fine whiskers and flyaway fur are poor candidates for physical features, while a distinctive tail, ear shape or broad coat marking gives you something useful to check.
Generate the figure, then inspect the likeness
- Upload the clearest view. The generator accepts PNG, JPG, WebP and HEIC images up to 10 MB. Background removal is on by default, but I still prefer a photo where the animal’s outline is easy to see.
- Start with geometry only. An untextured run costs 1 credit and is usually ready in under a minute. It lets me judge the shape before deciding whether color is worth pursuing. New accounts receive 3 free credits at sign-up; free accounts can download the resulting GLB. A textured generation costs 3 credits and requires a paid plan.
- Rotate the result slowly. I compare the ears, muzzle, back, feet and tail against the source photos. Pay particular attention to the far side and rear: if the photos did not show them, their shape is a prediction, not a record of your pet. A pleasant front view can conceal a merged leg or an oddly placed tail.
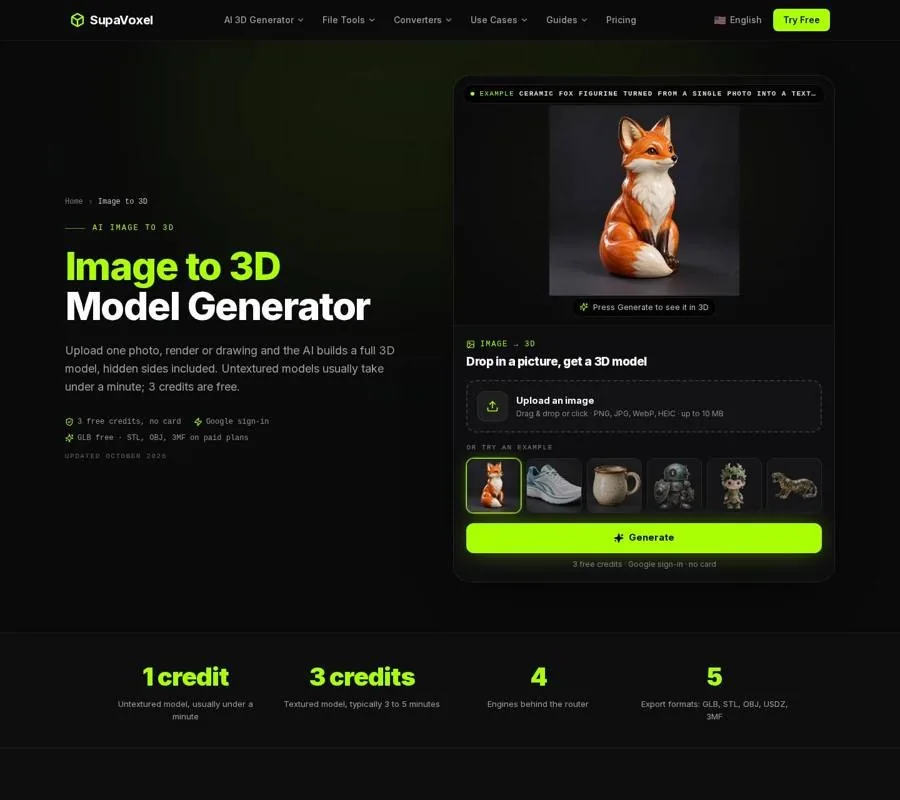
The Image to 3D page shows where a photo becomes a model you can rotate and inspect.
If the silhouette is wrong, I return to the input before touching print settings. A different main photo may reveal the feature the model guessed badly; an extra side or rear view can help with a distinctive coat or tail. Do not rely on a slicer to fix a likeness problem. Slicing turns geometry into toolpaths; it cannot recover the pet’s missing shape.
Make the mesh printable
A model that rotates nicely in a viewer is not automatically ready for a printer. A slicer needs a coherent solid so it can distinguish material from empty space. An open edge, an overlapping shell or a face pointing the wrong way can make that decision ambiguous. “Watertight” means the surface closes around the intended solid, with no unintended holes.
For this project, I inspect the generated model before using the studio’s repair feature. Repair can address holes, flipped faces and loose shells, but I still check the result: a technically closed model can have an ear too thin to print or a paw that barely touches the ground. Those are design decisions, not just mesh errors.
The pet figurine printing workflow is useful here because it brings the model, a stand base and the resin or PLA export choices into the same project. A base is worth considering when a sitting pose has little contact with the build plate or when separate paws would make the finished piece easy to tip. Check that it suits the pose rather than hiding an important part of it.
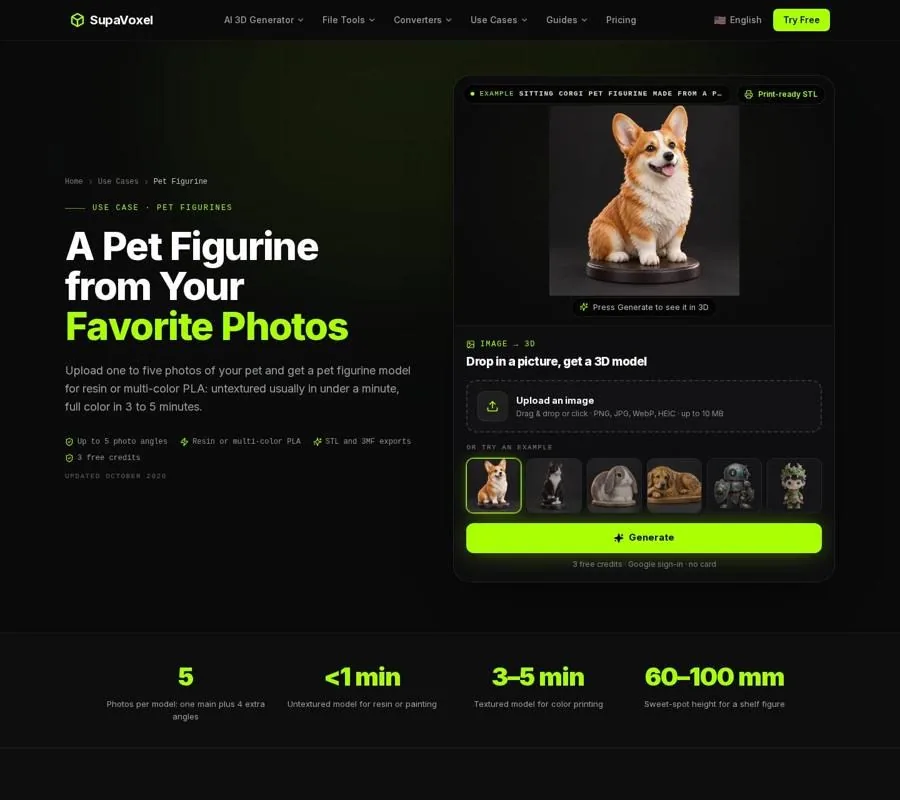
The Pet Figurine page shows the route from pet photos to a model prepared for printing.
Repair, a stand base and direct printable exports in the studio are included in every paid plan from $25 a year. Paid plans provide STL for resin or single-color work and multi-color 3MF for the supported color workflow. The free account download is GLB; it is a model file, not the direct STL export described above.
Choose size and material before slicing
Scale is not just a question of how much shelf space you have. Shrinking the entire figure also shrinks its nose, ears, tail and any narrow connection between a paw and the body. At 60–100 mm tall, a pet figurine has room for visible features on a desk or shelf. Below about 40 mm, a 0.4 mm FDM nozzle loses facial detail; I would favor resin for a small display piece.
For a hand-painted result, I would export STL and use resin, with the pet page’s 0.05 mm layer guidance. Supports belong where the pose needs them, often beneath a chin or tail. For single-color PLA, its starting guidance is 0.12 mm layers, 3 walls and 10–15% infill. Those settings do not rescue fragile geometry, so I inspect the sliced preview for missing ear tips, tail sections or paws before printing.
Color changes the file choice. A textured generation can supply coat colors for a 4-color 3MF intended for a Bambu AMS; the pet workflow gives 0.12 mm layers, 3 walls and tree supports as starting guidance. A resin print painted by hand offers another way to represent subtle markings and eyes. If likeness matters more than automatic color assignment, I would choose the finish I can control.
Finally, check how the figure meets the build plate or its base in the slicer preview. Look through the layers around the paws, tail and ears. If a feature vanishes or starts in midair, change the orientation, support plan or scale before committing material.
Use the right method when a figurine is not the right result
Sometimes the request is really to preserve a photograph, not to invent the rest of an animal. If the only surviving image is a face-on portrait, a full figurine asks the model to guess the body and rear. The 2D-to-3D method guide helps distinguish a full model from a relief or backlit lithophane, which keeps the photographed image as the subject. I would choose that route when the exact expression in the photo matters more than having an object to view from every side.
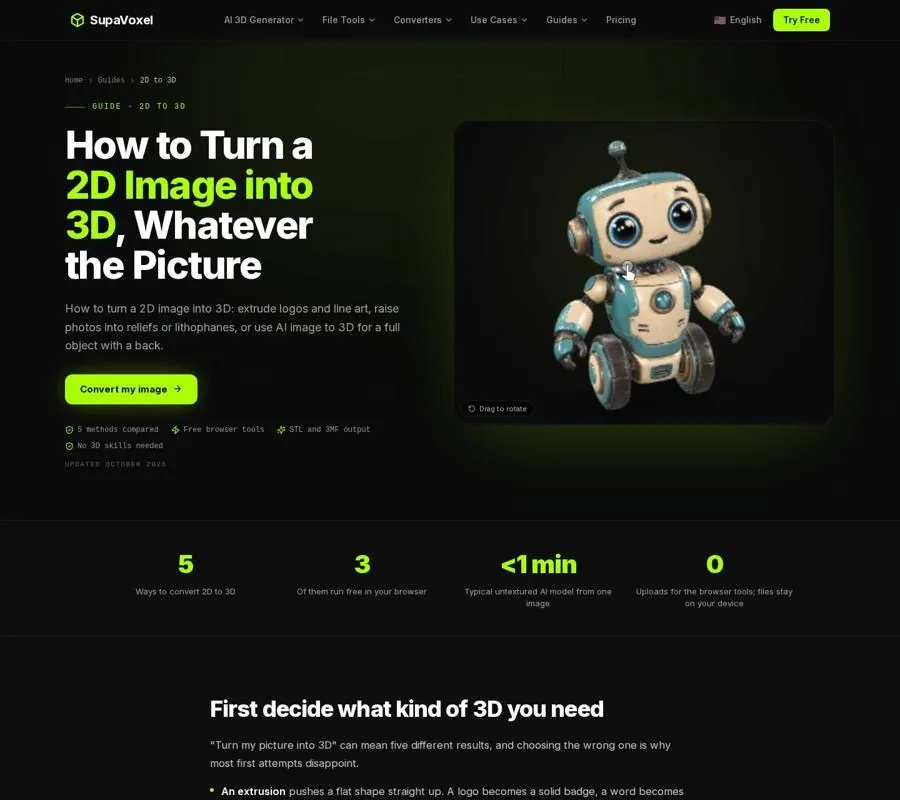
The 2D to 3D guide compares full models with image-based objects such as reliefs and lithophanes.
A printable pet is also the wrong job for code-generated primitives. The ChatGPT 3D modeling guide explains where generated code helps with simple, dimensioned parts and where an organic shape needs an image-to-3D approach instead. I might use code for a straightforward display component, but not to describe a recognizable muzzle or coat in geometric commands.
FAQ
Will the model copy my pet’s markings?
A textured generation can carry colors from the photo, but hidden markings still have to be inferred. Compare the rotated model with any extra photos, especially along the back and tail. For a painted resin figure, you can add markings by hand.
Can I print directly from the free download?
Free accounts download GLB, while direct STL and 3MF exports require a paid plan. If you convert a GLB for printing elsewhere, inspect the converted mesh and sliced preview just as carefully; the file format alone does not guarantee a watertight, sturdy figure.
What if the face looks right but the tail looks wrong?
Try a clearer main photo or add an angle that shows the tail’s shape and attachment. If that does not give you a usable model, choose a pose or finish that does not depend on the guessed detail rather than expecting mesh repair to correct the likeness.